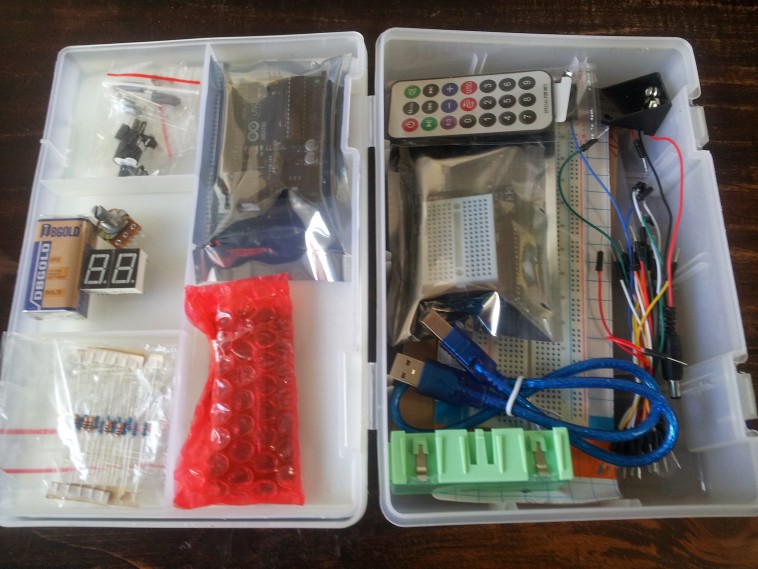
Today my Arduino kit arrived from MiniInTheBox. Incredibly fast delivery, all the way from China, and at an incredibly low price (also available at dx.com, click here). The kit is wonderfully complete with an Arduino Uno R3 and many other things you can connect to it. I am, at this point, a total Arduino noob, so I will start with the bare basics first. Ultimately I want to use my Arduino to control machines and devices in a totally cool way, but more on that later.
I run Ubuntu 12.10 on my development machine, so I will start with that.
First install the Arduino IDE (the development environment) according to the instructions on the Arduino Playground Ubuntu wiki, in terminal type
sudo apt-get update
sudo apt-get install arduino arduino-core
After the install, I search for the Arduino IDE using Dash Home and drag the IDE icon to the Unity bar, so I can access it more easily in the future. I plugin the USB cable into the Arduino and the Ubuntu machine and start the IDE and configure it using the Environment Guide; set the right Arduino type (Arduino Uno) and where it is connect, at /dev/ttyACM0.
I want the Arduino to be controlled by a simple webpage. This is somewhat different than most users would want. The most common way to use a web browser to control the Arduino is to install a webserver. But I want it to be controlled by a web page and have found a nice gateway tool, called ArduGate, that can run javascript commands to the Arduino (direct download link for linux is here). It also has its own web interface to control the Arduino in full. The download is unpacked by:
tar -xvf ArduGate-0.1-linux.tar.bz2
Open (file-> open) the “sketch” named agent.ino in the agent directory using the Arduino IDE and upload it to the Arduino. Start ArduGate by entering into the terminal:
./ardugate
You can now access the gateway to the Arduino using a web browser on http://localhost:8880. You need to connect the gateway to the right port using the web interface, but the /dev/ttyACM0 is not listed unfortunately. Thanks to StefTech (and Google translate), I find a workaround, by creating a symbolic link to the right port:
sudo ln-s / dev/ttyACM0 / dev/ttyS33
Press connect and Voila!
Now I need to understand how to connect things to the Arduino for input and output purposes. Let’s read some basics on this page, again on the Arduino playground, on Interfacing with Hardware.
To test if things work I have connected a simple LED using a bread board and a resistor. It works!